Next Generation Star Ship Instruction Sheet
This model is fairly simple but the notes below may be of help.
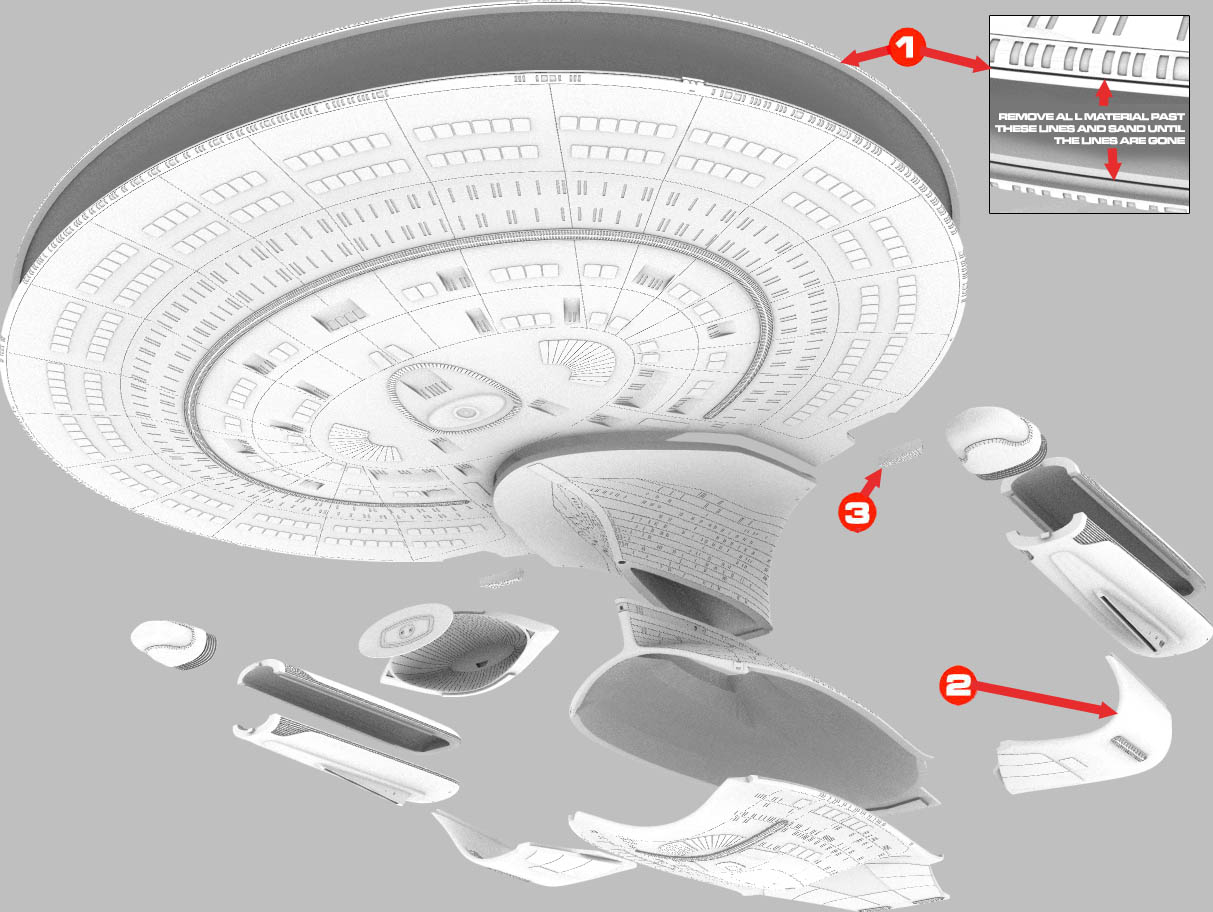
1. Be careful when handling the saucer rims; there may be sharp fiberglass bits present. The rims of the saucer halves have excess material that needs to be trimmed away. When the parts were cast, it was important to get a perfect edge on the pieces since the saucer edge windows come very close to the rim. You will see a line near the rim of each saucer half, as shown in the inset pic. Anything below the line on the saucer top or above the line on the saucer bottom needs to be removed. After the excess is removed, sand the rim flat until the line itself is no longer visible. You want the rims as flat as possible so the saucer halves will mate flush.
2. You will note the nacelle pylons have brass tubes cast into them. The main reason for this is to add strength to the pylons so they will not sag under the weight of the nacelles. You'll also note the tubes are hollow, which means wires can be passed throught them for lighting. I would not make the pylons thicker to accomodate larger tubes as the thinness of the pylons is part of the appeal of the ship design. Unfortunately, this means these narrow tubes are the largest that could be used. For lighting, it's recommended that very narrow gauge magnet wire be used, along with LED lighting. LEDs draw very little power, so 30 gauge wire should be sufficient. Not many wires will fit in these tubes. My guess is that 3 wires should be enough: one for power, one common ground, and one power for strobe lights.
3. They're hard to see, but these pieces are the impulse engines for the saucer.
4. Though the saucer is made of fiberglass and many of the pieces are thick to add strength, this model is meant to have some form of armature structure installed. It doesn't need to be an exercise in advanced engineering (unless you want it that way!), just some simple shapes made of strong material to carry the loads. The structure doesn't need to extend to the nacelles and pylons. The nacelles can carry their own weight and the pylons are reinforced. You'll note the brass tubes are extended beyond the base of the pylons; this is so the tubes can be bonded to whatever structure you put inside the secondary hull.
5. Not shown in the exploded view are the 3 shuttle bay doors, 2 in the neck and 1 in the saucer. The neck has 2 openings for the doors but the saucer already has a door cast in place. If you want to add a shuttle bay to the saucer, you can cut away the existing door, put in your bay and still have the extra door piece if you need it.
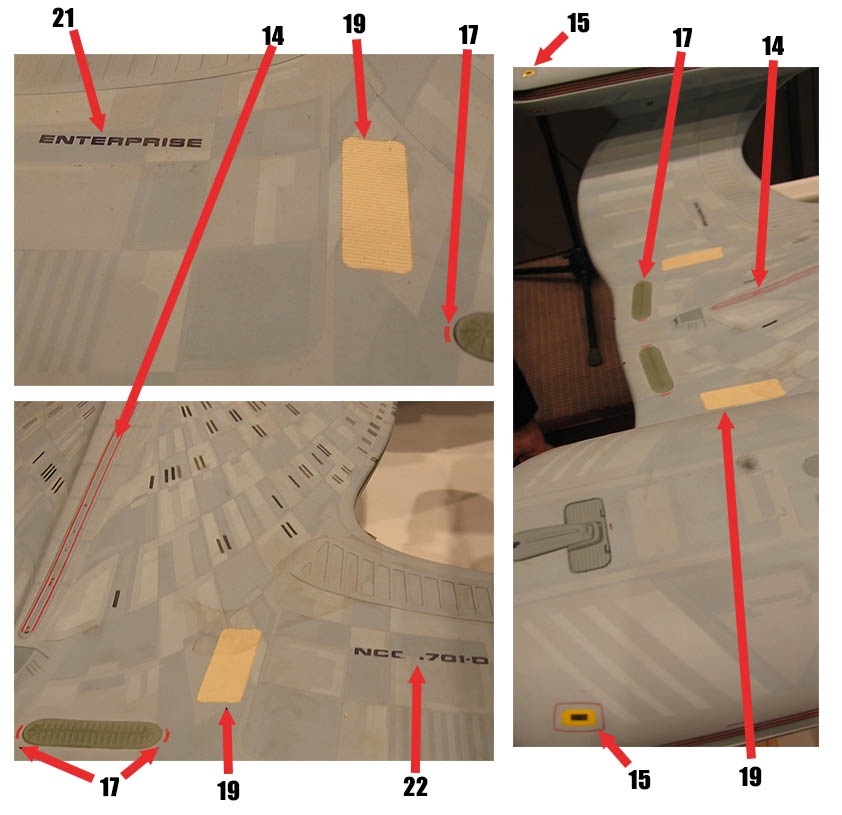
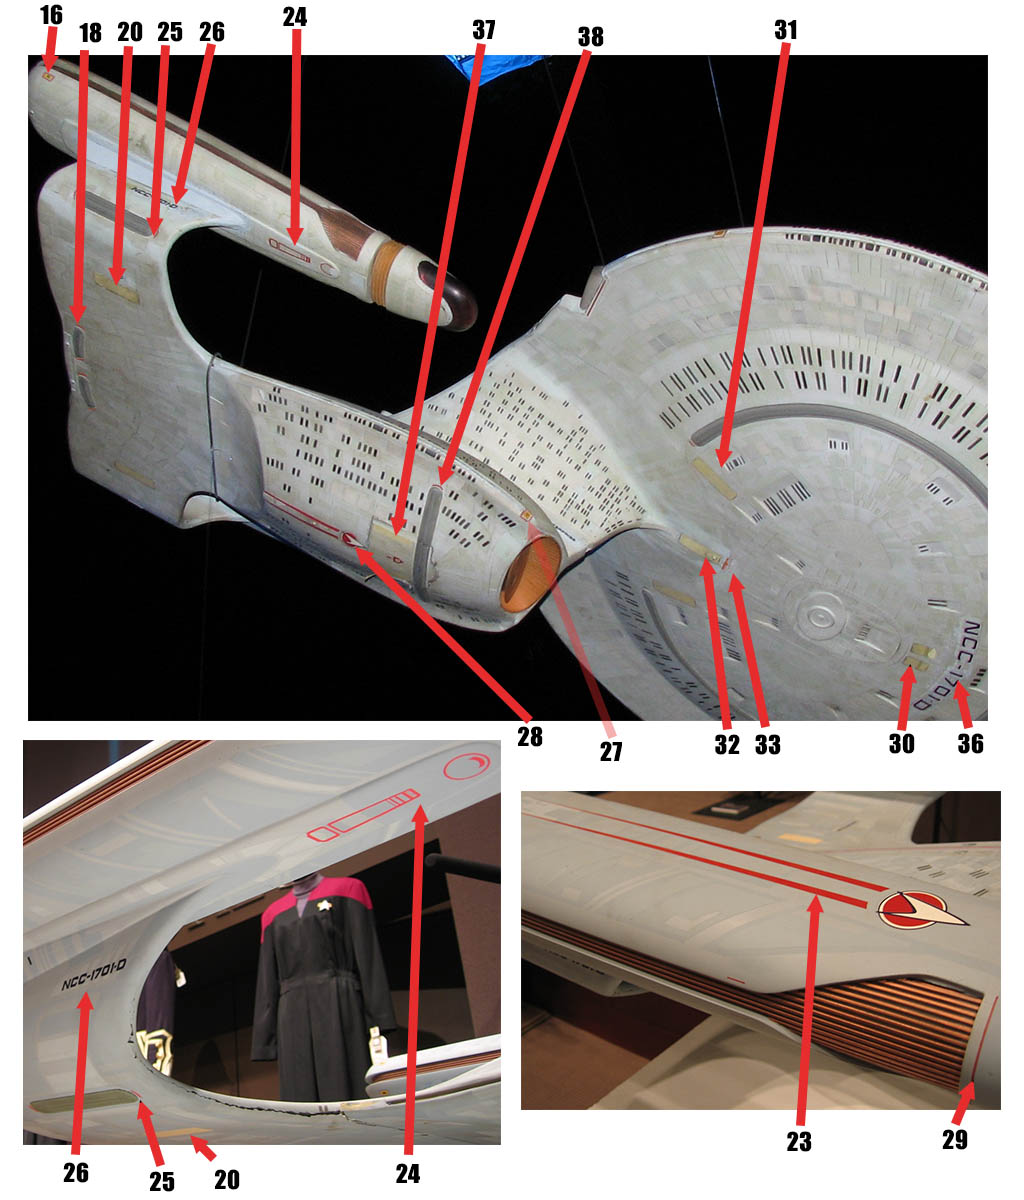
6. If you do add a main shuttle bay, please note that the yellow bars on decal 8 are longer that they would be for a closed bay and are meant to extend inside the bay. If you don't add a bay, trim the yellow bars so the decal fits properly with a closed door.
7. Translucent resin is a bit more brittle than the standard variety. The parts are still strong and this property of the material won't present a problem when sanding. Care should be taken, however, when trimming or cutting the parts. I've trimmed most of the resin pouring stubs away but they will need to be trimmed further. Try to aim the point of your cutting tool away from the part you're trimming to avoid a fracture going into the part.